
Welcome, today I am going to show you how you can get your own website up and running really quickly, even if you have never done anything like this before and without having to even look at a line of code. All you need to do is to follow my 3 Step process and you will have a great looking website up and running in no time.
Sidebar: I’ve personally built hundreds of websites using this exact method. It’s very easy, but if you need extra help, I am available.
I decided to put this tutorial together after I saw a lot of friends and other business owners being charged thousands of dollars for a basic website they could have built themselves from scratch in an afternoon. I have seen people charged up to $5,000 for the exact type of site I am going to show you how to build today.
So whether you’re looking to build a website for:
- A Small Local Business
- A Large Corporation
- A Personal or Company Blog
- A Hobby or Topical Site
Or pretty much any other type of content based website… Then this tutorial is for you.
Here are some examples of the types of websites I am going to show you how to build.
There are hundreds of templates for you to choose from.
These are just a few of the templates you can choose out of hundreds of options.
Note: If you are looking to build an eCommerce Store, then I suggest you checkout my Shopify Tutorial here.
Before We Begin, There are a few things you should know:
There are three things that every website needs in order to function, they are:
- A Domain (So people can find your website, like www.eBackers.com).
- Web Hosting (An account with a company who will host your website 24/7)
- WordPress (A Free piece of Software used to make building a website easy)
In order to build a fully functioning website you will need a domain (your web address) and a web hosting account. These two things will work together to make sure your website is available for anyone on the internet to see.
Once you have your domain and web hosting setup (which I will show you how to do) Then you can start building your website. WordPress is the most popular platform to build your site on. Approx 75 Million Websites use it, so thats what I will be showing you how to setup.
Setting up a WordPress website is very simple, usually only a few mouse clicks and you have the basic site setup.
Then we will look at ways to customise it to suit whatever type of site it is you want to build.
How To Make A Simple Website
The Step By Step Guide
Step 1 – Choose A Domain Name
The first step in making a website is to register your domain name. A domain name is also called a Universal Resource Locator or URL for short. The domain name is the text that people will enter into their web browser to find your website, such as www.mywebsite.com.
- Your domain name provides visitors with the first and most lasting impression of your website.
- It should be easy to remember.
- A domain name should be short, but relevant to the content on your website.
- It should also have an extension such as .com, .org or .net
Use the search tool below to find an available domain name:
Once you have found a domain name you like, you can move on to the next step.
DOMAIN NAME AVAILABILITY TOOL
Enter your desired domain name below and click ‘CHECK’ to see if it is available.
Once you have found a domain name you like, you can move on to the next step.
Step 2 – Set Up Your Web Host Account
The second thing that all websites need in order to work, is a web host. This is where the files that make up your website will actually be stored, making your website accessible for people all around the world to see online. I personally use and recommend GreenGeeks.com, they are a a popular web hosting service with reasonable prices and a user-friendly interface. Plus they have given me permission to offer readers of this website a special discount voucher to make getting started even easier.
Click Here to take advantage of the special discount offer with GreenGeeks.com
When you arrive at GreenGeeks you will see the screen below, and just need to click on the “Get Started Now” button.
Next you will need to enter your chosen domain name into the box where it says “I Need To Register A Domain” and then click “Check Availability”.
Then you just need to fill out your account information, and choose a package plan.
Then choose a package that suits you.
It’s up to you which plan you choose to go with, but I generally recommend people go for a year or two in advance, it works out much cheaper that way. So once you have fillout out the order form, simply check the details and click the “Create Account & Get Started” button.
Once that is done, GreenGeeks will setup your new domain and web host, and link them together. They will then send you an email with your account login details. Sometimes it can take a few minutes to get the email, but sometimes it will take a few hours, so once you have received your welcome email, you can continue with step 3 of this how to make a website tutorial.
Step 3 – Build Your Website
 In this tutorial I am going to show you how to build a website based on a free piece of software called WordPress. WordPress is a free CMS used by thousands of websites that has been available since 2003. It is user-friendly and allows anyone to make a simple website quickly and easily.
WordPress also has many features that allow you to customize the appearance and behavior of your website, so even if you are looking for something more complete than a simple site, WordPress is still the best website builder option.
These features include a set of themes that allow you to build a professional site without hiring a web developer. A variety of WordPress plugins are also available from third parties. These applications perform many additional functions within WordPress such as improving the search ranking of your website.
A manual installation of WordPress is often time-consuming, especially for novice web developers. Fortunately, web hosts such as GreenGeeks have applications that allow you to install WordPress automatically. The WordPress installer at GreenGeeks requires you to answer only a few simple questions, and it’s available with all hosting plans from GreenGeeks. The following steps will allow you to install WordPress in just a few minutes.
1) Login to your GreenGeeks account manager (the link will be in your welcome email from GreenGeeks).
2) Enter your login information to sign on to your account manager.
3) Once you are logged in, click on the Blue cPanel Login button:
You will now see a screen with a bunch of icons on it. This is your websites cPanel (Control Panel) where you can setup email addresses, or view your website statistics as well as a range of other things. But for now we will just focus on getting your website up and running.
4) So scroll down until you see the WordPress logo and click on that.
5) Next you will see a screen that gives you some additional information about WordPress, all you need to do here is to click on the “Install” button
The next screen is where you will need to fill out a few setup options, is looks like this:
Then in the next section (In Directory) you need to tell it where to install the software. Most people will want to clear this box, so that WordPress is installed on the main domain, but if you want it inside a different directory, you can enter one here. Otherwise just delete any text that it in this box and move on.
The Database name should be pre-set, so again just leave those settings as they are.
Next you will see “Site Settings”
Here you can enter your website name and a simple description or tag line. (don’t worry you can change these later).
You can also just leave the “Enable Multisite” option un-ticked.
Next you will need to enter a username, password and email, these will be your main logins to manage your website, so make sure you record these somewhere safe:
Then last but not least you will see the “Select Language” option and “Limit Login Attempts”, which you can again just leave them as they are and click the Install Button.
After a minute or two you should see the screen below, which means that the software has been installed and is ready to go.
Congratulations, you have just successfully setup a basic website.
Customizing Your Website
WordPress allows you to configure your website. This section of the tutorial will describe some of the methods you can use to give your website a professional appearance with WordPress. These changes require only a few minutes.
You can use WordPress to configure your website by accessing the WordPress login page. Enter the URL of your website in your web browser and add “/wp-login” to the end of the URL. Press the Enter key to go to the login page. You can also access this page by clicking the link labeled “login” in the right sidebar on your home page. Your WordPress login page will look like this:
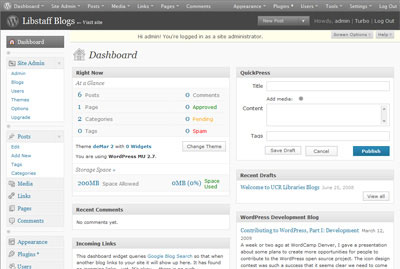
Enter your WordPress login information to sign on to the WordPress dashboard. This is the login information that you specified when you installed WordPress. Your WordPress dashboard will look like this:
This page primarily consists of links in submenus that allow you to change various features of your website such as your WordPress theme. Additional features that you can configure through WordPress include pages, posts, comments, tags and categories. The most important submenus listed on the WordPress theme include the following:
1) Appearance. This submenu allows you to change your theme as well as menus and widgets for your sidebar. These features allow you to customize the appearance of your website.
2) Links. This submenu lets you create links and categories for your links. You can use these categories to create sidebar widgets on your website.
3) Media. This submenu allows you to configure your website’s media such as pictures and videos.
4) Pages. This submenu lets you create new pages on your website. It also lets modify the features of existing pages such as comments, page order, slug and template.
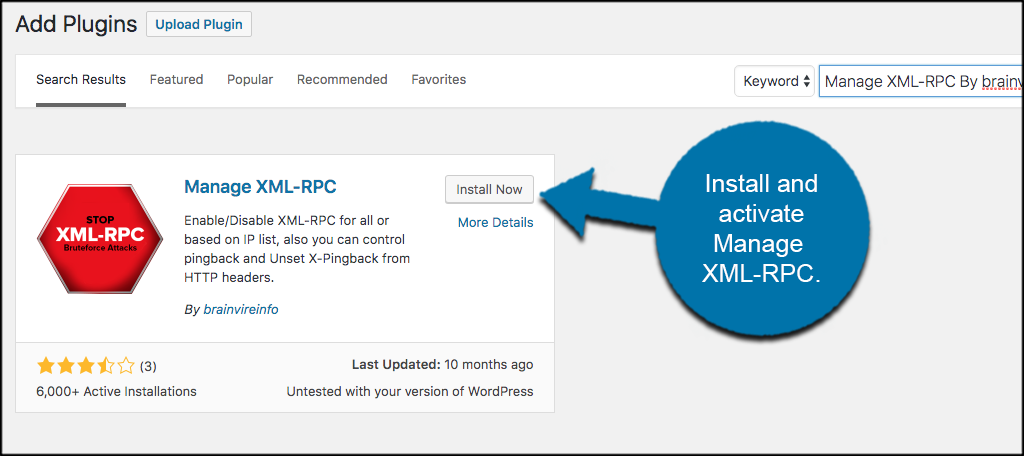
5) Plugins. This submenu allows you to manage the plugins for WordPress. Plugins enhance the functionality of your website by making your website run faster, changing its appearance and improving the search ranking of your website.
 6) Post. This submenu lets you to specify the page on which posts to your website will appear. You can also specify the information that will appear with the post such as the date of the post, poster’s name and comments from visitors. You can also use the Post submenu to create categories for your posts. This submenu is primarily used when your website is a blog.
7) Settings. This submenu allows you to change miscellaneous features on your website such as the date format, description, display and name of each page. You can also configure WordPress plugins from the Settings menu.
8) Users. This submenu lets you modify settings that are specific to each user such as profiles, email and passwords.
I am interested in setting up a marketable art gallery and blog website that can include other artists besides myself.